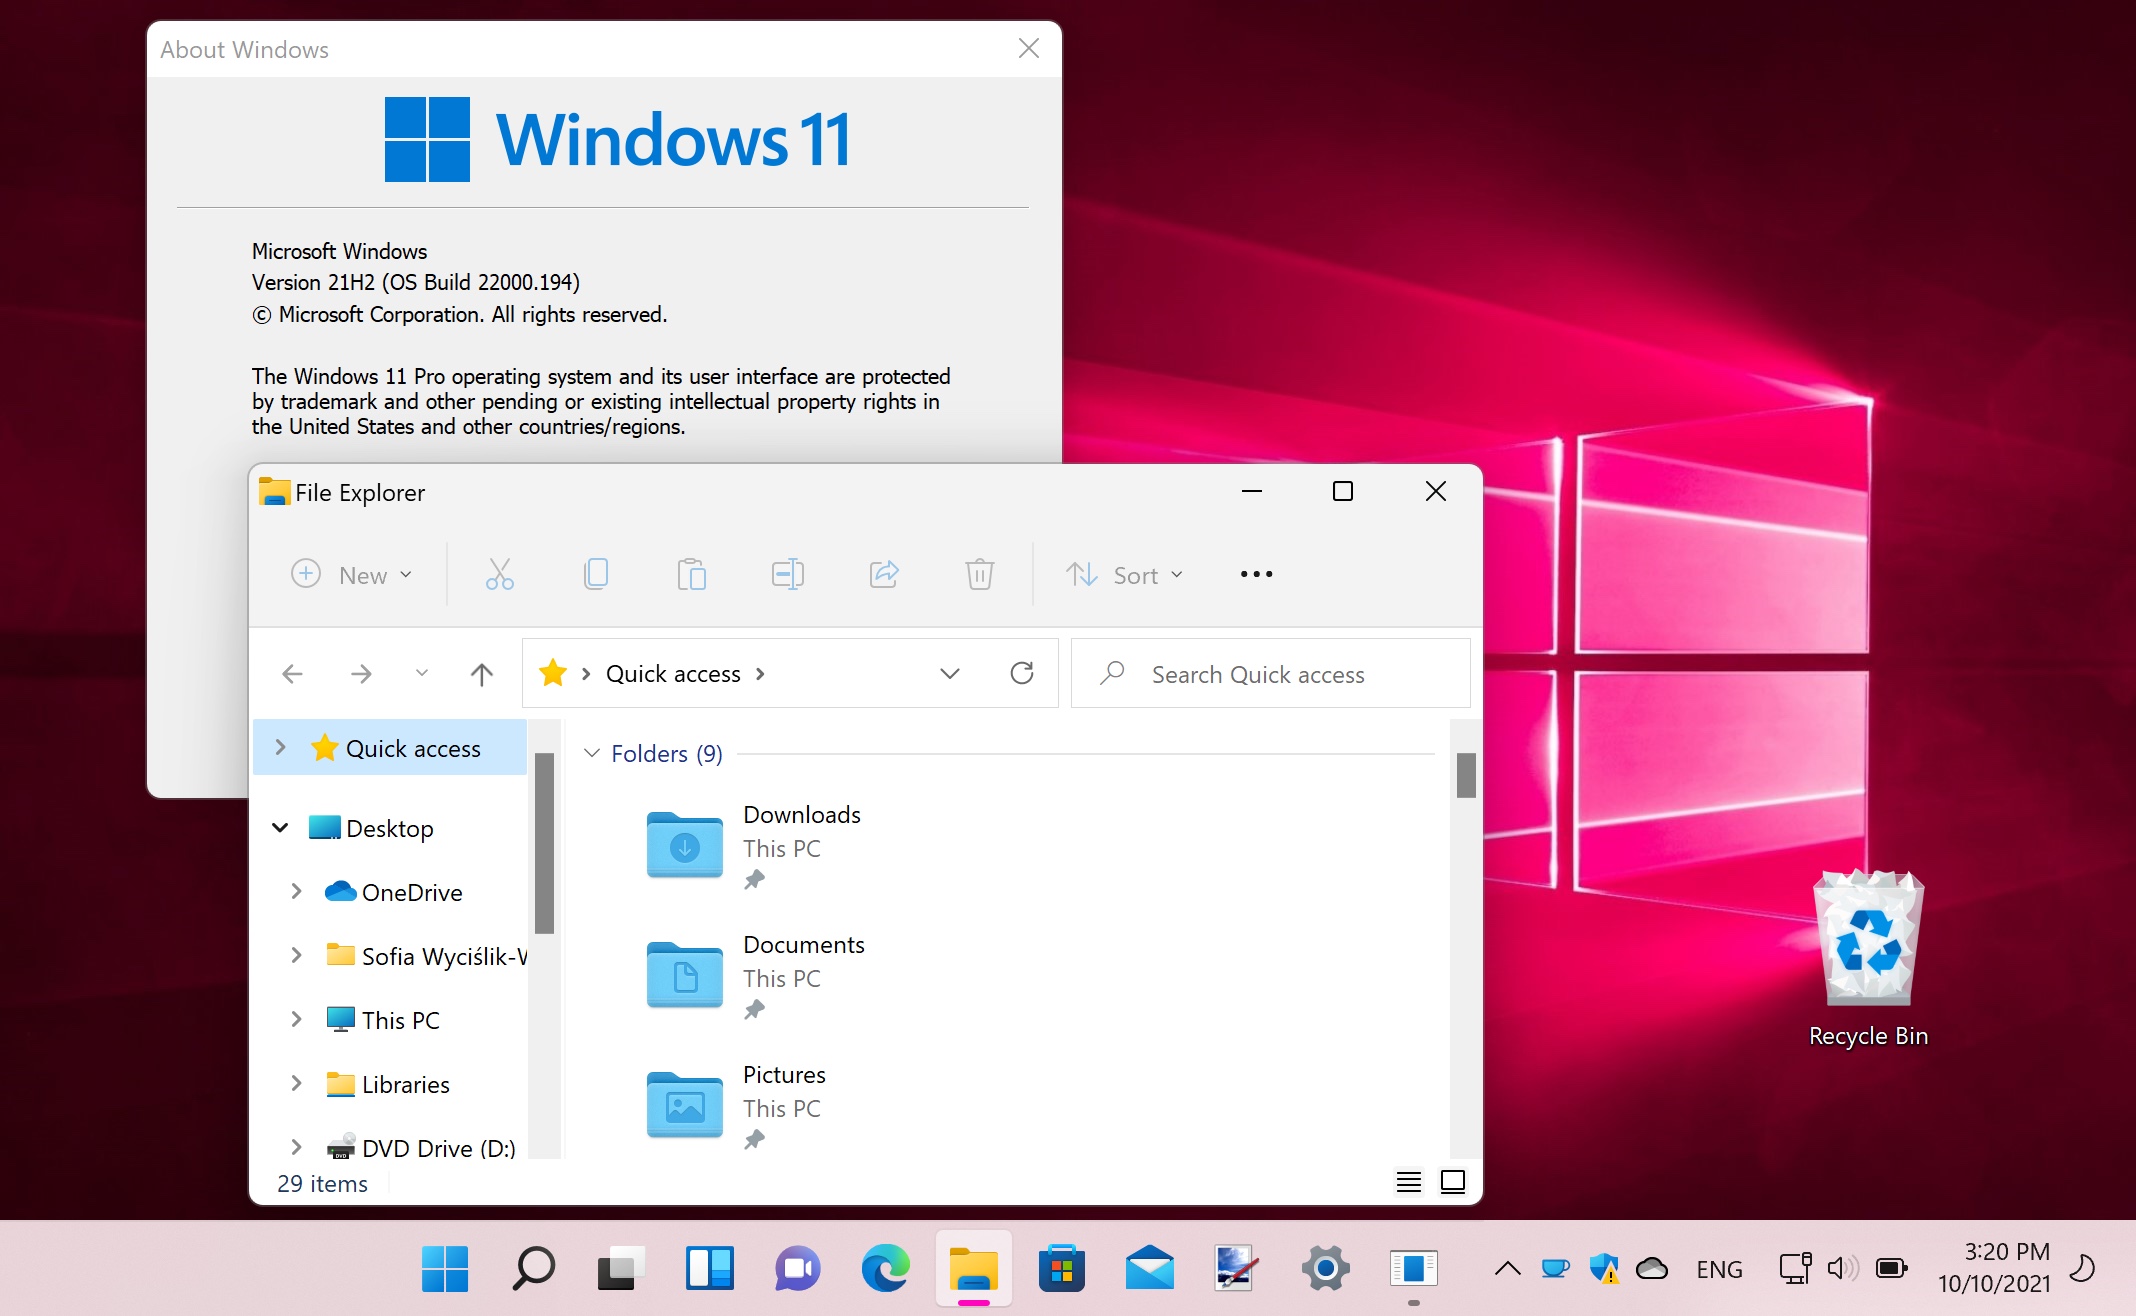
With the release of Windows 11, many users are excited about its new features and visual enhancements. However, some individuals may prefer to stick with the familiarity and compatibility of Windows 10. If you find yourself wanting to downgrade from Windows 11 to Windows 10, this step-by-step guide will walk you through the process and help you make a smooth transition.
Before You Begin
Before proceeding with the downgrade, it’s crucial to ensure that your device meets the minimum system requirements for Windows 10. Additionally, take the time to back up your important files and folders to prevent any data loss during the downgrade process.
Creating a Windows 10 Installation Media:
- Visit the official Microsoft website and download the Windows 10 ISO file.
- Prepare a bootable USB drive using a tool like Rufus and the downloaded ISO file. This will allow you to install Windows 10 on your device.
Downgrading from Windows 11 to Windows 10:
- Restart your computer and access the boot menu. The key combination may vary depending on your device, but common keys include F12, Esc, or Del.
- Choose the bootable USB drive from the menu to initiate the Windows 10 installation process.
- Follow the on-screen instructions to select your language, edition, and partition for the installation.
- Confirm your selection and proceed with the installation. Windows 10 will begin installing on your device.
Post-Downgrade Steps:
- Activate Windows 10 using the product key when prompted. If you don’t have a product key, you can select the option to activate later.
- After the installation is complete, update your device drivers to ensure optimal performance. Visit the manufacturer’s website to download the latest drivers for your hardware.
- Install necessary updates for Windows 10 by going to Settings > Update & Security > Windows Update. Check for updates and install any available patches.
Restoring Data and Applications:
- Transfer your backed-up data to the downgraded Windows 10 system. This can be done by copying your files from the backup location to their respective folders.
- Reinstall applications that were previously installed on your device. Visit the software provider’s website or use installation media to reinstall the applications.
Troubleshooting Common Issues
If you encounter any issues during the downgrade process, such as driver compatibility problems or missing files, here are a few troubleshooting steps you can try:
- Check for updated drivers on the manufacturer’s website.
- Use Windows Update to ensure your system is up to date.
- Restore files from your backup if any were accidentally deleted.
Conclusion
Downgrading from Windows 11 to Windows 10 may be a preference for users seeking familiarity or compatibility. By following this step-by-step guide, you can successfully downgrade your operating system and continue using Windows 10 with ease. Remember to take your time, backup your data, and refer to official resources for additional support if needed.

